How to Screenshot on MacBook Air: Every Method (2026)
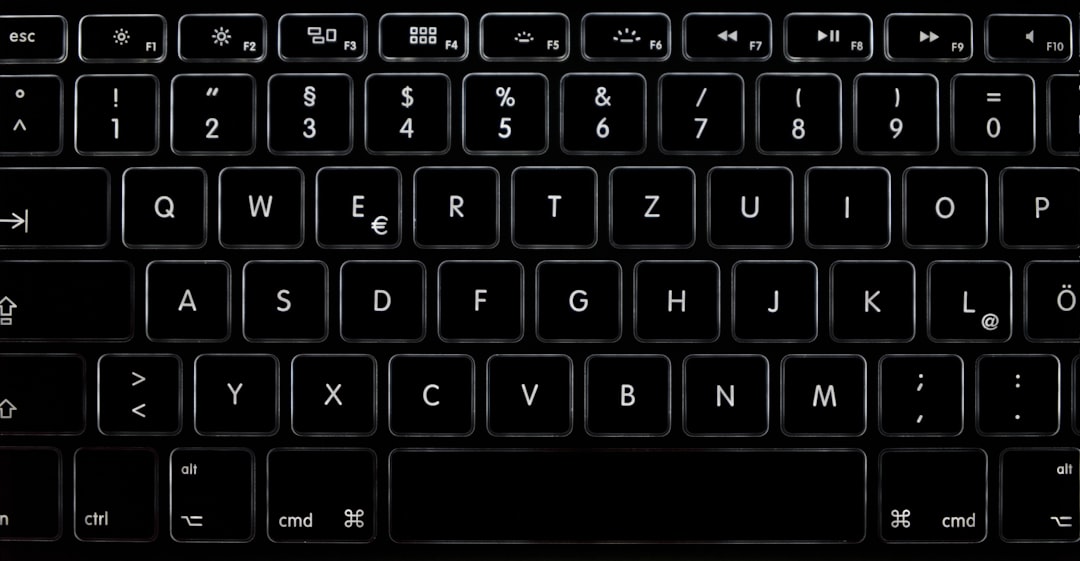
Whether you just unboxed a brand-new MacBook Air or you're a longtime Mac user who never quite memorised all the shortcuts, taking a screenshot is one of the most frequently needed skills in daily computing. Unlike Windows, which has a dedicated Print Screen key, the MacBook Air relies entirely on keyboard combinations and a built-in Screenshot app — no separate button required. The good news: once you learn three key shortcuts, you can capture virtually anything on your screen in under a second. Here is everything you need to know in 2026.
The 3 Essential MacBook Air Screenshot Shortcuts
All Mac screenshot shortcuts follow a consistent pattern built around the Command (⌘) and Shift keys. Every method below works on all current MacBook Air models — M1, M2, M3, and M4 chips — as well as Intel machines, as long as they run macOS Mojave or later. Refer to Apple's official screenshot support page for the authoritative reference.
Method 1 — Full-Screen Capture: Command + Shift + 3
- Press and hold Command (⌘), Shift, and 3 simultaneously, then release.
- You'll hear a camera shutter sound confirming the capture.
- A small thumbnail preview appears in the bottom-right corner of your screen. Click it to edit immediately, or simply ignore it and let the file save on its own.
- The screenshot is saved as a PNG file directly to your Desktop, automatically named with the current date and time — for example, Screenshot 2026-08-23 at 10.23.45.png.
This is the fastest method when you need to capture everything visible on your display in one instant.
Method 2 — Custom Area Capture: Command + Shift + 4
- Press Command + Shift + 4. Your cursor transforms into a precision crosshair.
- Click and drag to draw a rectangle around exactly the portion of the screen you want to capture.
- Release the mouse button or trackpad to take the shot. Press Escape at any time to cancel.
- Bonus tip: while dragging, hold Space to reposition your selection without resizing it — great for fine-tuning placement.
This is the most versatile shortcut, ideal for capturing dialog boxes, error messages, or a specific section of a webpage without including surrounding clutter.
Method 3 — Single Window Capture: Command + Shift + 4, then Spacebar
- Press Command + Shift + 4 to activate the crosshair.
- Immediately press Spacebar. The cursor switches to a camera icon.
- Move the camera icon over any open window — it highlights in blue to show it's selected.
- Click once to capture that window cleanly, complete with a subtle drop shadow that gives it a polished look in documents and presentations.
- Hold Option while clicking to remove the drop shadow if you prefer a flat image.
Method 4 — The Screenshot App: Command + Shift + 5
For users who want more control — or who prefer a visual interface over memorising shortcuts — macOS includes a dedicated Screenshot app. Press Command + Shift + 5 to open a floating toolbar at the bottom of your screen. You can also launch it by searching for "Screenshot" in Spotlight (Command + Space). From the toolbar you can:
- Choose between full-screen, window, or custom-selection capture
- Record your entire screen or just a selected portion as a video
- Set a 5-second or 10-second timer delay — perfect for capturing drop-down menus or hover states that disappear the moment you press a key
- Change the default save location to Documents, a custom folder, or directly to your Clipboard
- Show or hide the floating thumbnail after each capture
The Screenshot app is built into every Mac running macOS Mojave or later. Learn more about its full feature set in the Apple Support documentation.
Power-User Tricks You Should Know
Copy to Clipboard Instead of Saving a File
Add Control to any shortcut above to send the screenshot straight to your clipboard — no file is created on your Desktop. For example, Control + Command + Shift + 3 copies a full-screen grab. Once copied, paste it anywhere with Command + V — directly into an email, Slack message, Google Doc, or any other app. This keeps your Desktop tidy and your workflow fast.
Edit Screenshots with the Markup Thumbnail
After every screenshot, a small interactive thumbnail appears in the bottom-right corner of your screen for a few seconds. This is not just a notification — clicking it opens the built-in Markup editor, where you can crop the image, draw arrows, add text labels, highlight areas, or blur sensitive information before saving or sharing. You never need a separate image editor for basic annotation.
Customize Your Shortcuts
If the default key combinations conflict with another app you use regularly, you can reassign them. Go to System Settings → Keyboard → Keyboard Shortcuts → Screenshots and set any combination you like, or disable individual shortcuts entirely.
Change the Default Save Location
By default every screenshot lands on your Desktop as a PNG file. To keep things organized, open the Screenshot toolbar with Command + Shift + 5, click Options, and pick a new save destination — Documents, a project folder, or even your Clipboard as the permanent default.
Find Old Screenshots Fast
Open Finder and press Command + F, then type "Screenshot." All saved screenshots will appear in the results. Sort by date modified to surface the most recent ones first.
A Note on MacBook Air Retina Displays
Every current MacBook Air ships with a Retina display, which means screenshots are rendered at twice the pixel density of the screen resolution — a 1440×900 display, for example, produces a 2880×1800-pixel image file. This is a feature, not a bug: your screenshots will look razor-sharp when viewed at full resolution or included in high-quality documents. Just be aware that screenshot files can be larger than you might expect, especially at full-screen resolution.
What to Do When Screenshots Stop Working
Occasionally you'll press a shortcut and nothing happens — no shutter sound, no thumbnail, no file. Here are the most common fixes:
- Check your shortcuts haven't been reassigned. The most common cause is that another app has claimed the same key combination after a system update. Go to System Settings → Keyboard → Keyboard Shortcuts → Screenshots and verify each shortcut is still active. Click Restore Defaults to reset them all at once.
- Restart your Mac. A simple reboot clears most temporary system glitches that can freeze the screenshot service.
- Try Safe Mode. Boot your Mac while holding Shift to load it with only core system software. If screenshots work in Safe Mode, a recently installed third-party app is the culprit. Re-enable apps one by one in normal mode to identify the conflict.
- Check for protected content. Certain apps — including the Apple TV app — actively block screenshots of their windows as a digital rights protection measure. If you see a blank or black window in your capture, this is the reason.
- Verify available storage. If your Mac's storage is nearly full, macOS may not be able to save new screenshot files. Free up space and try again.
For a deeper dive into troubleshooting, TechTimes has a detailed breakdown of advanced tips and fixes, and Utilko's screenshot guide covers third-party tools like CleanShot X and Snagit for power users who need scrolling capture or instant cloud sharing.
Quick-Reference Cheat Sheet
- ⌘ + Shift + 3 — Full screen → saved to Desktop
- ⌘ + Shift + 4 — Drag to select area → saved to Desktop
- ⌘ + Shift + 4, then Space — Click a window → saved to Desktop
- ⌘ + Shift + 5 — Open Screenshot app toolbar (video recording, timer, options)
- Add Control to any shortcut above — Copy to clipboard instead of saving a file
FAQ
Where do screenshots go on a MacBook Air?
By default, screenshots are saved as PNG files on your Desktop, named with the date and time they were taken (e.g., Screenshot 2026-08-23 at 10.23.45.png). You can change the save location to any folder — or set screenshots to copy directly to your clipboard — via the Screenshot app (Command + Shift + 5) under Options.
How do I screenshot just one window on a MacBook Air?
Press Command + Shift + 4 to activate the crosshair, then immediately press the Spacebar. Your cursor turns into a camera icon. Hover it over the window you want to capture (it highlights in blue), then click once. The result is a clean image of that window, complete with a drop shadow. Hold Option while clicking to remove the shadow.
How do I copy a screenshot to the clipboard instead of saving a file?
Add the Control key to any standard shortcut. For example, Control + Command + Shift + 3 captures the full screen and places it on your clipboard without creating a file. You can then paste it directly into an email, document, or chat with Command + V.
Why are my MacBook Air screenshot shortcuts not working?
The most common cause is that another app has claimed the same keyboard shortcut. Go to System Settings → Keyboard → Keyboard Shortcuts → Screenshots to verify the shortcuts are enabled and not reassigned. If that looks correct, restart your Mac to clear any temporary system glitch. If shortcuts still fail, boot into Safe Mode (hold Shift at startup) to check whether a third-party app is causing the conflict.