How to Jump Start a Car with Cables: 2026 Guide
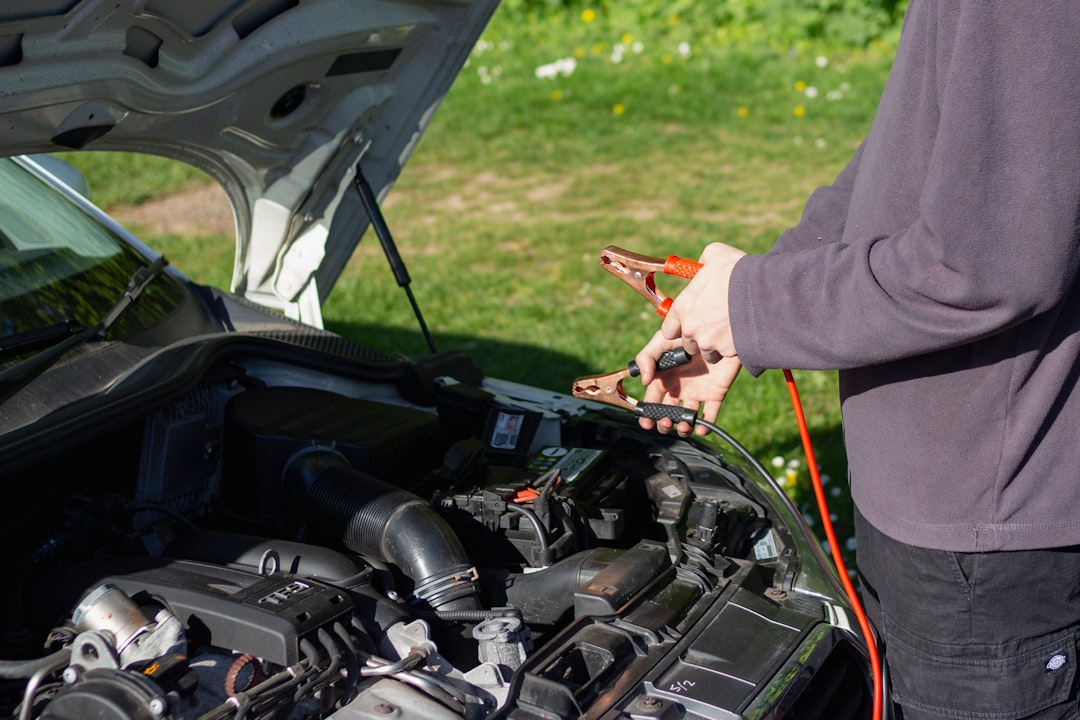
It always happens at the worst possible moment — before work, on a road trip, or late at night. You turn the key (or press the button) and hear nothing but a click, or worse, complete silence. A dead car battery is one of the most common roadside headaches drivers face, and the fastest remedy is usually a set of jumper cables and a willing neighbor. But hook those cables up wrong and you risk blown fuses, fried electronics, or even a battery explosion. Here is exactly how to do it right in 2026.
What You Need Before You Start
The two essentials are a set of jumper cables and another vehicle with a fully charged battery. Before you touch anything, do a quick visual inspection. If your battery shows visible cracks, is leaking fluid, or appears swollen, do not attempt a jump start — call a professional instead. Likewise, check your jumper cables for frayed wires or damaged clamps, and remove any loose clothing that could get caught in the engine.
When it comes to choosing cables, gauge matters more than brand or price. For most passenger cars, 4 AWG cables around 20 feet long strike the best balance between current capacity and manageable reach. Trucks, SUVs, and vehicles with larger engines should step up to 2 AWG cables, while diesel engines may need 1 AWG or heavier. A 20-foot cable is the standard professional recommendation for general passenger vehicle use, giving you enough slack even when the two cars cannot park perfectly nose-to-nose.
How to Jump Start a Car with Jumper Cables: Step by Step
- Position the vehicles safely. Park the working car close enough so the jumper cables can comfortably reach both batteries. Ideally, face the front bumpers toward each other. The cars should not touch. Turn off both engines completely and engage the parking brakes on both vehicles. Put both transmissions in Park (or Neutral for a manual).
- Locate the battery terminals. Open both hoods and find the batteries. The positive (+) terminal is usually marked in red or has a "POS" label; the negative (−) terminal is typically black. If corrosion is visible on the terminals, wipe it away with a cloth or wire brush — dirty connections can prevent a successful jump start.
-
Connect the jumper cables in the correct order. The order matters enormously for safety. Follow these four connections precisely:
- Red clamp → positive (+) terminal on the dead battery.
- Red clamp (other end) → positive (+) terminal on the donor (working) battery.
- Black clamp → negative (−) terminal on the donor battery.
- Black clamp (other end) → an unpainted metal surface in the engine bay of the dead car, away from the battery. A metal strut, bolt, or bracket works well.
That last connection is critical: never clamp the final black cable to the negative terminal of the dead battery. Doing so can create sparks near the battery, which releases flammable hydrogen gas and can trigger an explosion. Make sure all four clamps are secure and that no clamp is touching another.
- Start the working car and let it run. Start the engine of the donor vehicle and let it idle for 2–3 minutes. This allows some charge to transfer to the dead battery before you try to crank it.
- Try to start the dead car. Attempt to start the vehicle with the dead battery. If it starts, great — let it run for at least 15–30 minutes to allow the battery to recharge. Driving the car during this period is even more effective than idling. If it does not start, wait another few minutes and try again. If it still fails after a couple of attempts, the battery may be too far gone and need replacement.
-
Disconnect the cables in reverse order. Once the previously dead car is running, remove the cables in the exact reverse of the connection sequence:
- Black clamp from the grounded metal surface on the revived car.
- Black clamp from the negative terminal on the donor battery.
- Red clamp from the positive terminal on the donor battery.
- Red clamp from the positive terminal on the (now running) formerly dead battery.
As you remove the last clamp, keep it away from any metal surface to avoid sparks. Make sure the detached clamps never touch each other while any other clamp is still attached.
For a visual reference, the Home Depot jump-start guide provides a clear diagram of proper cable placement.
The Most Common (and Dangerous) Mistakes
Reversing the polarity
Connecting the red cable to the negative terminal or the black cable to the positive terminal creates a short circuit. The consequences can include irreparable battery damage, blown fuses, fried electronics, and even serious personal injury. Always double-check: red goes to positive, black goes to a ground.
Clamping the last black cable to the dead battery's negative terminal
Car batteries release hydrogen gas. Connecting the final black clamp to the dead battery's negative post can generate sparks right next to that gas, potentially causing an explosion that sprays sulfuric acid. Always use an unpainted metal surface in the engine bay as your ground instead.
Letting the clamps touch each other
When jumper cables are connected to any battery, allowing the clamp ends to touch creates dangerous sparks. Keep the clamps separated from the moment you take the cables out of your trunk.
Using cheap or undersized cables
Inexpensive, thin-gauge cables add resistance and may fail to deliver enough current, especially in cold weather. Quality cables reduce resistance and optimize current flow. If the cables are too thin, they may not deliver enough current to start your vehicle — and in extreme cases can overheat.
Jumping a visibly damaged battery
If the battery shows corrosion, leaks, or physical damage, do not attempt to jump start it. This can be incredibly dangerous. Call for roadside assistance instead.
For a full breakdown of what goes wrong when cables are reversed, CarParts.com's detailed guide is worth reading.
Special Cases: Hybrids and EVs
Hybrid vehicles have two separate battery systems: a standard 12-volt auxiliary battery that handles electronics and ignition, and a high-voltage traction battery pack that powers the electric motor. The 12-volt is the one you jump start — the high-voltage pack, which runs at several hundred volts, should never be touched and must only be serviced by certified technicians.
For most hybrid models, the jump-start process mirrors that of a conventional car, using the 12-volt terminals. However, it is worth noting that using another vehicle to jump-start a hybrid can flood it with unregulated current, potentially damaging the inverter and other electronics. A surge-protected portable jump starter is the safer choice for hybrid owners.
As for full electric vehicles: you should never jump-start an EV using another EV or a hybrid as the donor — doing so could cause catastrophic damage to both vehicles' electrical systems. Only use a combustion-engine vehicle or a dedicated jumper pack to boost an EV's 12-volt battery, and never attempt to jump-start an EV's main lithium-ion traction battery under any circumstances. The AAA guide to jump-starting EVs covers the step-by-step process for electric vehicles in detail.
When to Skip Cables Entirely
Jumper cables are reliable but have clear limitations — they require another vehicle, careful setup, and perfect technique. A portable lithium jump starter is an increasingly popular alternative: it eliminates the need for a second car, is small enough to keep in the glove box or trunk, and reduces the risk of incorrect connections. If your battery keeps dying after repeated jump starts, it is likely old or failing and needs to be replaced rather than boosted again.
After a successful jump start, take your car to an auto parts store or mechanic for a battery test. Many shops offer this service for free. A test will tell you whether the battery still holds a proper charge or whether a replacement is overdue — saving you from another stranded moment down the road.
For more on choosing the right cables for your vehicle, see Modern Survival Blog's jumper cable gauge guide.
FAQ
What is the correct order to connect jumper cables?
Connect in this order: (1) red clamp to the dead battery's positive terminal, (2) red clamp to the donor battery's positive terminal, (3) black clamp to the donor battery's negative terminal, (4) black clamp to an unpainted metal surface on the dead car's engine bay — never to the dead battery's negative terminal. Disconnect in exact reverse order when finished.
How long should I let a car run after jump starting it?
After a successful jump start, drive the car for at least 15–30 minutes to allow the alternator to recharge the battery. Driving is more effective than idling. If the battery dies again shortly after, it likely needs to be replaced.
Why should I never clamp the black cable to the dead battery's negative terminal?
Car batteries release flammable hydrogen gas. Connecting the final black clamp directly to the dead battery's negative post can produce sparks right next to that gas, which risks triggering a battery explosion. Always ground it on an unpainted metal bracket or bolt in the engine bay instead.
Can I use regular jumper cables on a hybrid or electric vehicle?
For most hybrids, you can jump-start the 12-volt auxiliary battery using standard cables, following the same steps as a conventional car — but a surge-protected portable jump starter is safer to protect sensitive electronics. Never jump-start the high-voltage traction battery on a hybrid or EV, and never use an EV or hybrid as the donor vehicle when jumping another EV.
Sources
- How to Jump-Start a Car – Nationwide
- How to Jump-Start a Car – Dummies.com
- How to Jump Start a Car with Jumper Cables – The Track Ahead
- How to Jump-Start a Car – Home Depot
- What Happens If You Reverse Jumper Cables – CarParts.com
- 5 Mistakes People Make When Jump Starting a Car Battery
- How to Use Jumper Cables – GOOLOO
- Jump-Starting an EV – AAA
- Jump-Starting a Hybrid – Jalopnik
- Best Jumper Cable Gauge – Modern Survival Blog
- Jumper Cable Gauge vs. Length Chart – JumpChargeHQ