How to Cook Quinoa in an Instant Pot (2026)
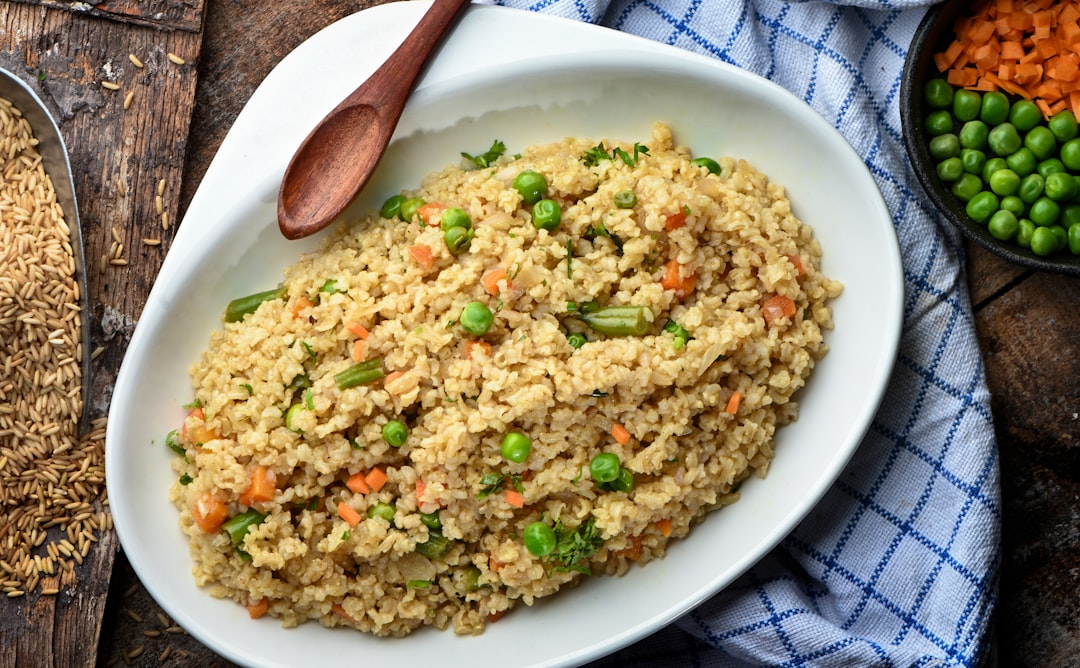
Quinoa has earned a permanent spot on the weekly meal-prep roster — and for good reason. It's a complete plant-based protein, loaded with fiber, magnesium, and all nine essential amino acids, yet it can feel fussy to cook on the stovetop. Enter the Instant Pot. With one press of a button, you can walk away and come back to a pot of perfectly fluffy, individual grains — no stirring, no scorching, no babysitting required. If you've been frustrated by gummy or watery quinoa in the past, this guide will fix that for good.
Why Quinoa Is Worth Adding to Your Diet
Before diving into the method, it helps to understand why quinoa is trending in 2026. Botanically, quinoa is a seed rather than a grain, but it's used like one in the kitchen. A single cup serving of cooked quinoa delivers roughly 5 grams of fiber — more than an equivalent serving of brown rice — and provides protein content ranging from 13.8% to 16.5%, making it more protein-dense than most cereal grains. It's also naturally gluten-free, making it a smart choice for people with celiac disease or gluten sensitivity. Research published in Frontiers in Nutrition in late 2024 found that quinoa's bioactive compounds — including polyphenols and flavonoids — show antioxidative, anti-inflammatory, and cardiovascular benefits. The Cleveland Clinic recommends adding quinoa in place of low-fiber, processed carbohydrates to boost nutritional value. In short, this tiny seed packs a serious punch.
The #1 Rule: Get the Water Ratio Right
The single most important factor separating fluffy Instant Pot quinoa from a soggy mess is the water-to-quinoa ratio. Because the Instant Pot is a sealed, pressurized environment, very little steam escapes during cooking — meaning less evaporation happens compared with a stovetop pot. If you use the same amount of water you would on the stove, you'll end up with overcooked, waterlogged grains.
Most home cooks and food writers converge on 1 to 1½ cups of liquid per cup of dry quinoa as the sweet spot for the Instant Pot. The official Instant Pot recipe calls for high-pressure cooking with the sealing valve closed, and a natural release afterward. Some cooks prefer an even tighter 1:1 ratio for firmer, more distinct grains, while others favor 1:1¼ for a slightly softer texture. What everyone agrees on: do not use the stovetop ratio of 2 cups of water per cup of quinoa in the Instant Pot — that's a recipe for mush.
For red or tricolor quinoa, which has a slightly tougher outer coat, you may need to nudge the ratio up to 1:1.75 and add one to two extra minutes of cook time to achieve the same tenderness as white quinoa.
Step-by-Step: How to Cook Quinoa in an Instant Pot
- Rinse the quinoa thoroughly. Place your quinoa in a fine-mesh strainer and run it under cool water until the water runs clear. This step washes off a naturally occurring compound called saponin, which gives quinoa a bitter, soapy taste if left on. Even if the bag says "pre-rinsed," a quick rinse won't hurt. Make sure to drain it very well afterward — excess water left in the strainer will throw off your liquid ratio inside the pot.
- Prep the Instant Pot liner. Lightly spray the inside of the stainless-steel pot with cooking spray or rub it with a small amount of oil. This simple step prevents the quinoa from sticking to the bottom and cuts down on foaming, which can clog the steam release valve.
- Add the quinoa and liquid. Transfer the rinsed, drained quinoa to the pot. Pour in your liquid — plain cold water works perfectly, but using chicken or vegetable broth adds a savory depth of flavor that plain water can't match. Add a pinch of salt to enhance the grain's natural nuttiness. Stir briefly to make sure no grains are clinging to the sides, and that everything is submerged.
- Seal and set the pressure. Lock the lid into place and turn the steam release valve to the Sealing position. Press the Pressure Cook (or Manual) button, set the pressure to High, and program the time for 1 minute. It will take roughly 5 to 7 minutes for the pot to build up enough pressure before the countdown begins — this pressurizing time actually does a significant portion of the cooking work.
- Natural pressure release for 10 minutes. When the 1-minute cook cycle beeps, resist the urge to quick-release the pressure. Allow the Instant Pot to naturally release pressure for a full 10 minutes — this carry-over time is essential for the grains to finish absorbing liquid and steam evenly. After 10 minutes, turn the valve to Venting to release any remaining steam, then carefully open the lid away from you.
- Fluff and serve. Use a fork (not a spoon) to gently fluff the quinoa, separating the grains and releasing trapped steam. You should see tiny white spirals — the germ — curling away from the seeds, which is the telltale sign of perfectly cooked quinoa. Serve immediately, or let it cool for meal prep.
Pro Tips to Avoid the Most Common Mistakes
- Don't skip the natural release. Switching to quick release too soon is one of the most common reasons Instant Pot quinoa turns out wet or undercooked. The 10-minute natural release is doing real cooking work.
- Use cold water. Adding warm or hot water to the pot changes the time it takes to reach pressure and can affect your final texture. Stick to cold tap water unless your specific recipe says otherwise.
- Don't use too much water. Too much liquid is far more likely to ruin your quinoa than too little. When in doubt, err on the lower end of your ratio — you can always stir in a splash of broth after cooking if the grains seem dry.
- Don't cancel the Keep Warm function during natural release. If you press Cancel right when the timer goes off, the pot loses heat faster, which can leave the quinoa slightly undercooked. Let the Keep Warm setting run for those 10 minutes.
- The recipe doubles easily. One of the biggest advantages of the Instant Pot for quinoa is that you can double or even triple the batch without adjusting the cook time at all — making it ideal for weekly meal prep.
Flavor Variations to Try
Plain quinoa is intentionally neutral — think of it as a blank canvas. Here are a few easy upgrades:
- Swap water for chicken or vegetable broth for a savory, aromatic base.
- Add half a teaspoon of garlic powder or a teaspoon of Italian seasoning before cooking.
- Stir in a tablespoon of olive oil before sealing the lid for extra moisture and richness.
- Finish with a squeeze of fresh lemon juice and chopped parsley once it's fluffed.
- Top with crumbled feta, diced avocado, or toasted nuts for a quick grain bowl.
- Drop in a bay leaf or a few cardamom pods before cooking, and remove before serving, for a subtly fragrant result.
For serving inspiration, Love and Lemons suggests tossing fluffy quinoa with olive oil, salt, pepper, and a squeeze of lemon as a simple side, or using it as the base for grain bowls, burrito bowls, and roasted vegetable salads.
Storage and Meal Prep
One cup of dry quinoa yields approximately three cups of cooked quinoa — enough for four side-dish servings or two to three hearty bowls. Because it scales so well, batch cooking is highly recommended.
- Refrigerator: Let the quinoa cool completely, then store it in an airtight container for up to 5 days. Keep it plain (no dressings or sauces added) so it works across multiple recipes throughout the week.
- Freezer: Spread cooled quinoa in a thin, flat layer on a parchment-lined baking sheet, let it reach room temperature, then portion it into freezer-safe bags. Press out as much air as possible before sealing to prevent freezer burn. Frozen quinoa keeps well for up to 3 months. Thaw overnight in the refrigerator, or reheat from frozen in the microwave with a few teaspoons of water, covered loosely, for one to three minutes on high.
For a deeper look at freezing and reheating strategies, Platings and Pairings has a reliable guide that covers portioning and reheating tricks. The Healthline nutrition breakdown of quinoa is also a helpful resource if you want to understand the full nutritional profile of what you're cooking.
Quick-Reference Chart: Instant Pot Quinoa Settings
- White quinoa: 1 cup quinoa to 1–1½ cups liquid | High Pressure | 1 minute | 10-minute natural release
- Red or tricolor quinoa: 1 cup quinoa to 1½–1¾ cups liquid | High Pressure | 2–3 minutes | 10-minute natural release
- Large batch (2 cups quinoa): Same ratios, same time — no adjustment needed
FAQ
What is the best water-to-quinoa ratio for an Instant Pot?
Most cooks use 1 to 1½ cups of liquid per cup of dry quinoa in the Instant Pot. Because the sealed pressure environment produces almost no evaporation, you need significantly less water than the stovetop ratio of 2:1. Too much water is the leading cause of mushy Instant Pot quinoa.
How long do you cook quinoa in an Instant Pot?
Set the Instant Pot to High Pressure for just 1 minute, then allow a natural pressure release for 10 minutes before opening the lid. The pressurizing and depressurizing phases do most of the actual cooking work, so the total process takes around 18–20 minutes from start to finish.
Do you need to rinse quinoa before cooking it in the Instant Pot?
Yes. Quinoa has a natural coating called saponin that gives it a bitter, soapy taste if not removed. Rinse it in a fine-mesh strainer under cold water until the water runs clear. Drain it well before adding it to the pot, as excess rinse water will throw off your liquid ratio.
How long does cooked Instant Pot quinoa last?
Stored in an airtight container in the refrigerator, cooked quinoa keeps for up to 5 days. For longer storage, freeze it in flat, portioned bags for up to 3 months. Reheat from frozen in the microwave with a splash of water, covered, for 1–3 minutes.
Sources
- Basic Quinoa – Instant Pot (Official)
- Instant Pot Quinoa Recipe – Love and Lemons
- 1-Minute Instant Pot Quinoa – Platings and Pairings
- Cooking Quinoa in the Instant Pot – Detoxinista
- Quinoa: Nutrition Facts and Health Benefits – Healthline
- 4 Health Benefits of Quinoa – Cleveland Clinic
- Instant Pot Quinoa – Spice Cravings
- Instant Pot Quinoa (Fluffy and perfect!) – Kitchen Girl